
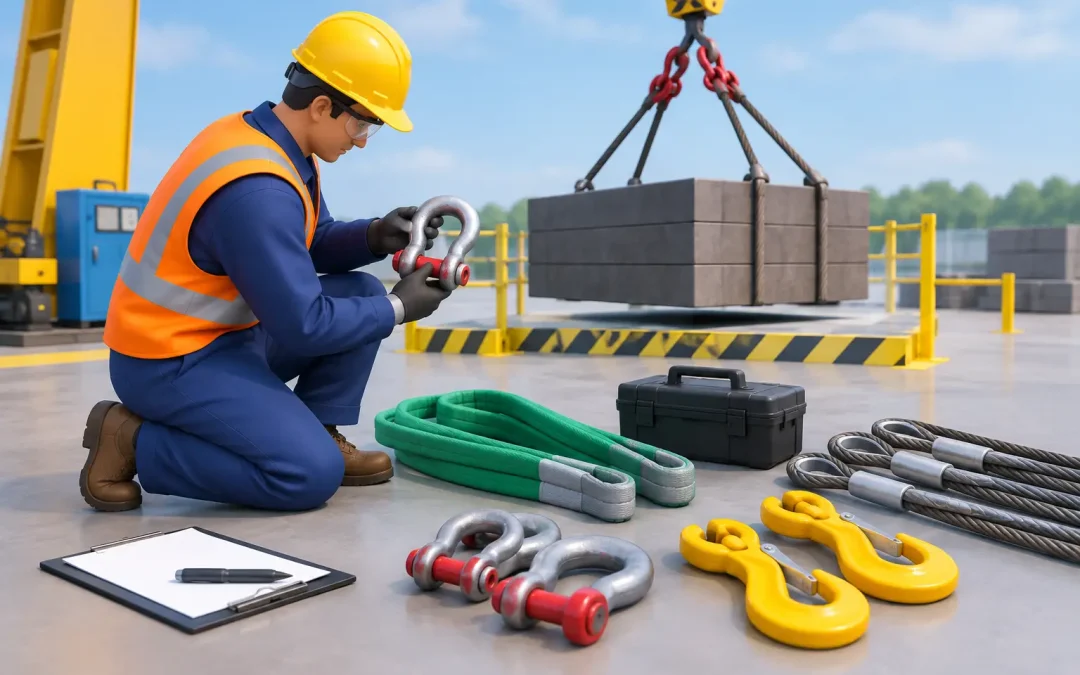
A missed tag, a bent hook latch, or a sling that arrives packed with jobsite debris can stop a proof load test before it starts. Knowing how to prepare lifting gear before testing helps your crew avoid wasted time, failed inspections, and last-minute schedule changes. The goal is simple: deliver equipment that is safe to handle, clearly identified, configured correctly, and ready for documented testing.
For contractors, rigging crews, maintenance teams, and marine operators, preparation is not paperwork for paperwork’s sake. It is how you get the certification an inspector needs without taking equipment out of service longer than necessary.
Start With the Required Test Scope
Before gathering gear, confirm exactly what needs to be tested and what documentation the customer, inspector, engineer, or site requires. A single lifting assembly may include more than the obvious hook or beam. Depending on how the equipment will be used, the test scope may include slings, shackles, spreader beams, below-the-hook devices, pad eyes, lifting lugs, rigging hardware, baskets, and other connection points.
Do not assume that an item has already been covered because it was near a previous test or was part of a similar assembly. Match every item to the work order, drawing, equipment list, or project requirement. If the gear will be used as a complete assembly, identify the complete assembly and its intended configuration before testing is scheduled.
Proof load requirements vary by equipment type, rated capacity, applicable standard, manufacturer instructions, and project specifications. The correct test procedure is not always the same from one job to the next. Confirming the scope early prevents a common problem: gear arrives for testing, but a required component, drawing, or capacity rating is missing.
Inspect and Clean the Gear Before It Leaves the Yard
A proof load test is not a substitute for a pre-use inspection. Conduct a practical visual check before the equipment is picked up or brought to the test location. Look for conditions that could make the gear unsafe to handle, unsuitable for testing, or difficult to identify.
Check metal components for cracks, severe corrosion, deformation, sharp gouges, damaged threads, heat damage, unauthorized welds, and excessive wear. Verify that hook latches operate as intended and that pins, bolts, retainers, and other hardware are present and properly secured. On chain slings, look for stretched, twisted, nicked, or distorted links. On wire rope slings, inspect for broken wires, kinks, crushing, birdcaging, damaged end terminations, or other visible defects.
Synthetic web and round slings need close attention. Cuts, torn stitching, chemical exposure, melted fibers, abrasion, knots, damaged protective covers, and unreadable tags can all create problems. A sling that cannot be positively identified should not be treated as ready simply because it looks serviceable.
Clean the equipment enough that markings, tags, welds, and critical surfaces can be inspected. Remove loose mud, heavy grease, concrete residue, salt buildup, paint overspray, and other debris that hides the condition of the gear. Cleaning does not mean grinding, repainting, welding, or altering the item to make it look acceptable. Any repair or modification needs to be evaluated through the proper process before the item is presented for certification.
Make Capacity and Identification Readable
Every piece of lifting gear needs a clear identity. Before testing, verify that the manufacturer name or identifying mark, serial number or asset number, rated capacity, and other required markings are readable where applicable. For fabricated lifting devices, confirm that drawings, calculations, prior records, or identification plates are available when required by the project.
A clear tag or serial number connects the physical item to the test record. Without it, even a completed test may not provide the documentation your inspector needs. If your company uses internal asset numbers, make sure they agree with the equipment list submitted for testing. Small numbering mistakes create avoidable delays when certificates are issued.
Take photos of unusual assemblies, lifting points, or identification markings before transport. This is especially helpful when gear is coming from an active site where several similar items are staged together. It gives the project team a reference if a question comes up after testing.
Prepare the Assembly in Its Actual Working Configuration
When a lifting system will be used in a specific arrangement, prepare it in that arrangement whenever the test requirement calls for assembly testing. This may include the planned sling angle, shackle orientation, spreader beam connection, lifting lug interface, or multi-leg rigging layout.
Bring all necessary pins, nuts, bolts, washers, and connection hardware. A beam with the correct lifting lugs but missing the specified shackle pin is not ready for a meaningful test. Likewise, substituting a different component at the last minute can change the capacity, fit, or load path.
Pay attention to sling angles and load direction. Hardware may be rated differently in basket, choker, vertical, or multi-leg applications. Side loading a shackle or hook, loading a lifting point at an unintended angle, or forcing components to fit can invalidate the planned configuration and create a safety issue. If the final field setup differs from the equipment drawing or intended use, stop and clarify the requirement before testing.
For custom fabricated gear, provide the latest approved drawings and any design information requested for the job. Fabricated lifting devices often require more coordination than standard catalog rigging because the test setup must reflect the design and the actual load path.
Stage Gear for Safe, Efficient Handling
Getting gear ready also means making it accessible. Separate items by job, asset number, or test group. Do not send a mixed pile of shackles, slings, and attachments without an inventory. Label containers or pallets so the right equipment can be matched quickly to the right documentation.
Stage heavy gear where it can be safely loaded and unloaded. Keep access routes clear for forklifts, trucks, cranes, or other handling equipment. If testing will occur at your facility or jobsite, identify the available space, overhead clearance, ground conditions, traffic controls, and any site access requirements in advance.
The test area needs to be controlled. Keep unauthorized personnel away from the equipment during loading and testing, and make sure the crew understands who is responsible for rigging, communication, and site coordination. Proof load testing applies significant force. A rushed setup or an unplanned work area is not a place for bystanders.
Have the Right Information Ready for Certification
The physical gear and the paperwork need to match. Provide an organized equipment list that includes the item description, quantity, capacity, serial number or asset number, and intended use where relevant. Include project name, location, purchase order details, contact information, and any inspector-specific forms that must be completed.
If the equipment has previous certificates, repair records, or manufacturer documentation, have those available. Previous paperwork does not replace a current required test, but it can help resolve identification questions and show the history of the item. For new equipment, keep manufacturer information with the gear rather than leaving it in a separate office or email chain.
This preparation is especially useful on fast-moving projects. When the testing provider has the correct list, the correct gear, and the required information before arrival, certification can move much faster after the work is completed.
Avoid the Delays That Hold Up Most Tests
Most delays are preventable. The usual causes are unreadable identification, missing components, gear that is dirty or damaged, an unclear capacity, no approved drawing for a fabricated item, or a mismatch between the submitted list and the equipment on site.
Another frequent issue is treating proof load testing as the first step in determining whether equipment is fit for use. If there is visible damage, suspected overload, questionable repair work, or uncertainty about the item’s rating, address that condition first. Testing should follow a defined plan, not be used to guess whether an unknown item can be put back into service.
If your project is under an inspection deadline, communicate that timing early. Pacific Load Testing provides mobile proof load testing support for San Diego-area jobs, helping crews prepare equipment, complete testing, and obtain the documentation needed to keep work moving.
A clean, identified, correctly assembled piece of lifting gear gives the test process a clear starting point. Get the details lined up before the truck arrives, and your crew can spend less time chasing paperwork and more time getting approved for the lift ahead.