
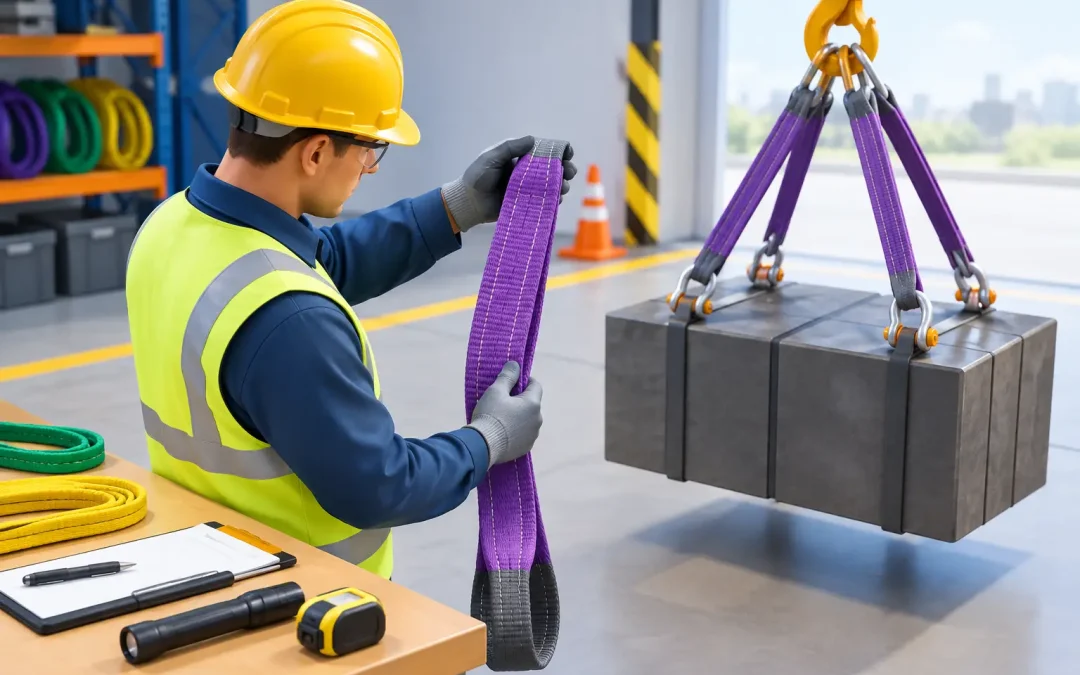
A sling that fails rarely gives a crew much time to react. Before it is put under tension, the sling must be identifiable, in serviceable condition, correctly selected for the lift, and supported by the documentation the job requires. Knowing how to test lifting slings means separating routine jobsite inspection from formal proof load testing. Both matter, but they serve different purposes.
A visual check can catch cuts, broken wires, heat damage, missing tags, and unsafe hardware before a lift starts. A proof load test verifies that a sling or lifting assembly can carry a specified test load under controlled conditions. Do not treat a proof test as a field experiment or use a working lift as a test. When certification is required, the test needs the right equipment, procedure, personnel, and records.
Start With Sling Identification and Capacity
The first test is whether the sling can be positively identified. Read the manufacturer tag or permanent marking before use. It should identify the manufacturer or code, rated capacity, sling type, material, length, and other information required for that product. If the tag is missing or illegible, remove the sling from service until a qualified person or the manufacturer can determine its status. An unmarked sling has no verified working load limit.
Capacity is not a single number that applies to every lift. The rated capacity changes with the hitch type, sling angle, number of legs carrying the load, and the condition of the attachment points. A basket hitch, vertical hitch, and choker hitch can have different ratings. Low sling angles increase leg tension quickly. A sling that is adequate in a vertical pick can be overloaded in a two-leg bridle at a shallow angle.
Confirm the load weight, center of gravity, rigging configuration, and connection hardware before testing or lifting. Shackles, hooks, master links, lifting beams, and other components must be compatible with the sling and rated for the intended load. The lowest-rated component controls the assembly capacity.
How to Test Lifting Slings at the Jobsite
Every sling should receive a visual inspection before each use or shift, based on the applicable site rules and governing standard. A designated competent person should also perform documented periodic inspections at the interval required by the sling type, service conditions, and regulations. Severe service may call for more frequent documented inspections than normal service.
Lay the sling out where you can see its full length. Do not inspect it while it is loaded, twisted around a load, or buried in a rigging pile. Check the body of the sling, both eyes or end fittings, and all sewn, spliced, or mechanical connections.
For synthetic web and round slings, look for cuts, holes, snags, broken stitching, melted or glazed fibers, chemical damage, knots, crushed areas, and excessive abrasion. Pay close attention to the load-bearing yarns. A damaged outer cover on a round sling may expose the core, which is a removal-from-service condition. Synthetic material can also lose strength from heat, welding spatter, ultraviolet exposure, acids, alkalis, or solvents. When chemical exposure is suspected, do not guess based on appearance alone.
For wire rope slings, inspect for broken wires, kinks, birdcaging, crushing, flat spots, corrosion, heat damage, and damaged eyes or fittings. Check the areas near end terminations and points that run over sheaves or contact edges. Wire rope damage is often concentrated where the sling bends, not in the open straight section.
For alloy steel chain slings, inspect every link for stretching, nicks, gouges, cracks, wear, twists, weld spatter, and evidence of unauthorized repair. Check hooks for throat opening, deformation, latch condition where applicable, and secure connection to the chain. Never heat, weld, straighten, or modify chain sling components in the field unless the work is performed under an approved qualified repair process.
For all sling types, confirm that the sling has not been overloaded, shock-loaded, or exposed to conditions outside the manufacturer’s limits. If the crew reports a dropped load, snag, sudden stop, or unknown loading event, quarantine the sling. It may need evaluation beyond a standard visual inspection.
Know When a Visual Inspection Is Not Enough
A serviceable-looking sling is not automatically certified for a project. Contractors, owners, port facilities, marine operations, and inspectors may require proof load test documentation for a sling, lifting fixture, or complete rigging assembly before it can be approved for use. This commonly happens after fabrication, repair, modification, recertification requirements, or when a project specification calls for documented testing.
Proof testing is also different from a periodic inspection. It applies a controlled load, typically established by the governing specification, manufacturer requirements, customer requirements, or applicable ASME standards. The correct test load and hold time depend on the equipment being tested. There is no one proof load percentage that fits every sling and assembly.
Do not overload a sling on site to see if it holds. That can damage the sling, create a drop hazard, and leave no valid record for the inspector. A proper proof test uses calibrated load-measuring equipment, controlled loading, a planned test area, and a post-test inspection. The test must be documented with enough detail to identify exactly what was tested.
What a Proper Proof Load Test Requires
Before testing begins, the technician should verify the sling identification, configuration, components, requested capacity, and applicable acceptance criteria. If the sling is part of an assembly, every component needs to be evaluated as part of that assembly. A high-capacity sling does not make undersized hooks or a nonrated lifting beam acceptable.
The sling or assembly is then connected to suitable test fixtures. The test setup must load the item in a way that represents its intended service while preventing side loading, edge damage, or unintended loading on a component. The load is increased in a controlled manner to the specified proof load. Personnel stay clear of the test area while the system is under tension.
After the required load is reached and held as specified, the item is unloaded and inspected again. The tester looks for permanent deformation, cracking, broken wires, damaged stitching, altered dimensions, or any other sign that the equipment did not pass. Passing a load test does not erase pre-existing damage or override manufacturer removal criteria.
The documentation should identify the customer, equipment description, serial number or unique ID, rated capacity, test load, test date, test method or applicable standard, test equipment information, result, and authorized signature. A clear certificate prevents confusion when an inspector asks which sling or assembly was tested. Generic paperwork that cannot be matched to the equipment may not satisfy the project requirement.
Avoid Common Jobsite Testing Mistakes
The fastest way to create a delay is to wait until an inspector arrives before checking tags and certificates. Stage the rigging early, match each item to its documentation, and verify that the stated capacities fit the actual lift plan. If a sling is used in a different configuration than the certificate or rating supports, the paperwork alone will not make the lift compliant.
Another common mistake is assuming a new sling needs no review. New equipment should still be checked for correct identification, shipping damage, and compatibility with the planned lift. Likewise, a certified sling still needs a pre-use inspection. Certification documents the completed test. It does not replace the daily condition check.
Protect slings during use. Use edge protection where a sling contacts sharp corners, avoid dragging synthetic slings across concrete or steel, keep slings away from welding and hot work, and store rigging clean and dry. Good handling reduces damage, but it also makes inspection faster and more reliable.
Get Documentation Before It Stops the Job
If an owner, inspector, or project specification requires proof load testing, schedule it before the equipment is needed at the hook. Provide the sling type, capacity, number of legs, hardware details, dimensions, and required standard or test load if known. That allows the testing provider to bring the appropriate fixtures and load capacity instead of discovering a mismatch at the jobsite.
For San Diego crews working against an inspection deadline, Pacific Load Testing provides mobile proof load testing and certification support where the equipment is located. The practical goal is simple: get the sling or assembly properly tested, clearly documented, and ready for approval without adding unnecessary downtime.
When a sling has questionable identification, visible damage, a loading incident, or missing certification paperwork, take it out of service first. A short pause before the lift is far easier to manage than a failed inspection, damaged equipment, or an injured crew.